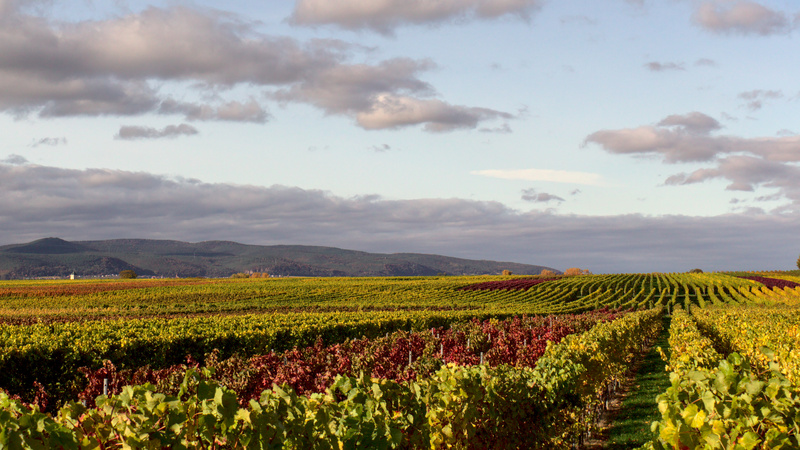
It (sadly) doesn’t happen all too often anymore, but occasionally I take pictures with my DSLR. So obviously I need a sensible workflow for processing and storing the RAW pictures.
On Windows I 100% legally used Adobe Photoshop et al, and recently had discovered the Affinity Software by Serif (which are both affordable and do look pretty promising).
But this isn’t Windows, this is Arch (btw). The Wiki gave me two suggestions that catched my attention (and kept it after looking at some screenshots):
I’ll be testing them out editing a landscape picture I took today.
Getting the pictures off the camera
There are two ways to get the pictures from the camera onto the computer:
-
Connect the camera to the computer using a Mini USB cable.
- Open every drawer in your office
- Assess that you have over nine thousand cables, but none of them is Mini USB
- Proceed with option 2 (honestly, who still has Mini USB these days, as
Micro USBType C rules the world?)
-
Take the SD Card out of the camera and put in your computer’s SD card reader
- (Only applies if you try Arch (btw) inside a VM): Figure out how to convince the hypervisor to connect the card to the VM, not to the host
- Realize that your Arch system doesn’t do anything when you plug things in, since you haven’t configured it yet
- Go to the Arch wiki and setup udisks. Here’s how I did it.
Lighttable
Usually the first task in a photo editing workflow is organizing and selecting the pictures. In the old days, you would have laid the negatives out onto a backlit table, the so called “lighttable”.
Darktable also has a flexible lighttable, in which it displays the pictures of your current collection, which of course you can filter by rating or labels assigned to the pictures. The lighttable has different modes for arranging the negatives. You can just display them as a grid (with adjustable size), have a zoom- and panable view, or have some pictures selected for side-by-side comparison.
RawTherapee only has a grid view available in its filemanager. It has filters to, but it’s not as flexible as darktable’s lighttable. Furthermore, RawTherapee operates just on filesystem paths, whereas darktable has a database of all the pictures. This allows for a much more flexible selection of which pictures you want to see.
Editing experience
In terms of what tools and adjustments are available, they both feature the standard tools I have seen so far in every raw editor. RawTherapee seemed a bit laggy, but darktable on the otherhand sometimes suddenly crashed (which I suppose was for out of memory reasons in the VM). In my quick tests I couldn’t make out fundamental differences in editing the pictures. But having some experience with diffrent raw editing tools, I quickly felt at home in darktable, which I can’t quite say for RawTherapee. What ultimately swung the pendulum towards darktable is the lack of local adjustments in RawTherapee (that is, adjustments which don’t affect the whole picture but only a selected area).
Exporting
Having developed the negative, the last step is to export it as a JPG or PNG or something. Here, RawTherapee seemed to give me sharper results, as darktable basically denoised very much detail away. Also, darktable tricked me by using different color profiles for output than while editing.
However, I could figure all that out an have an adequate result in both of them.
Result
RawTherapee seems to be better in actually processing the images. But due to RawTherapee’s lack of features for organizing and reviewing the images, darktable just better fits my workflow.
Oh, and here is the final picture btw:
